Quick Answer
For a first playthrough, start with The Two Celestials when you need healing and Wind-Whipper when groups surround you. Use Earth-Shakers against guards and enemy stamina, or Flashing Void for a strong punish from farther away. The comparison includes six gauge-powered Oni Armaments plus the Oni Bow, a separate ranged tool included in the seven-item collection checklist.
- What the tiers mean
- First-playthrough priority
- Combat Armaments
- 6 gauge-powered choices
- Collection checklist
- 7 entries including Oni Bow
The tier list at a glance
These tiers help decide what to learn and upgrade during a first playthrough. S choices help with common early problems; A choices are strong against tough targets; B choices handle a narrower job; C is a later build option. A lower letter does not make an item the wrong tool for a particular fight.
S tierHealing and crowd control
Use The Two Celestials to recover health while attacking. Use Wind-Whipper when several enemies surround you.
- The Two CelestialsClose-range hits release Yellow Souls you can absorb to heal.
- Wind-WhipperIts wide whirlwind hits nearby groups and gives you room to fight.
- Why this tier
- Both are obtained early and solve problems you face throughout the first run. That makes them useful first choices to practise and upgrade.
- How to use it
- Choose the blades when you need healing and have a safe opening. Switch to Wind-Whipper when enemies gather around you.
A tierGuard breaking and boss damage
Use Earth-Shakers to wear down enemy stamina. Use Flashing Void to punish a tough target from farther away.
- Earth-ShakersCharged hammer attacks deal heavy Break Damage, but charging leaves you exposed.
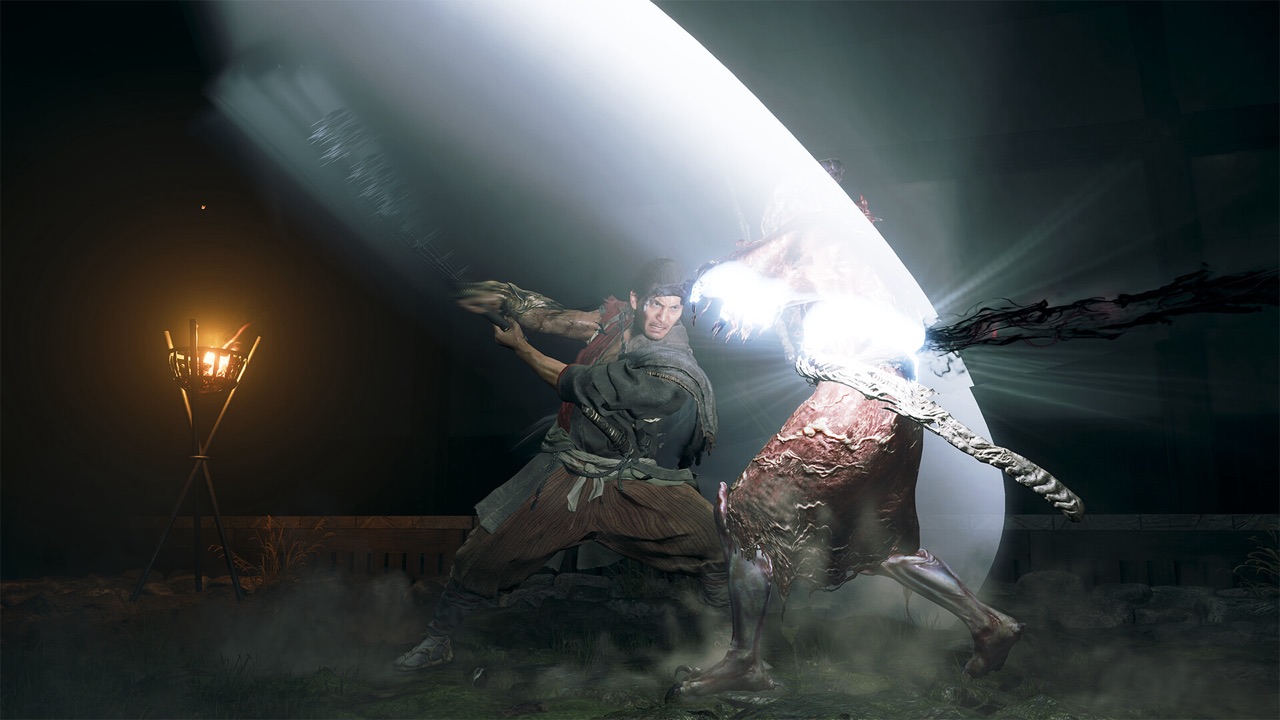
- Flashing VoidA charged attack for health damage; its longer reach makes some boss openings easier to use.
- Why this tier
- Both are strong against tough enemies. They need a suitable attack opening, and Flashing Void is obtained later, so they are less useful as opening-build investments.
- How to use it
- Charge after the enemy finishes a long move. If it is unsafe to wait, use a quick hammer attack or reset your position.
B tierRanged targets and fire attacks
Use the Oni Bow for distant enemies and mechanisms. Try Firebird Flute when you want fire damage and stagger against nearby enemies.
- Oni BowA separate ranged tool for targets and mechanisms your sword cannot reach.
- Firebird FluteA fire-and-stagger alternative for nearby enemies.
- Why this tier
- Their value depends on the task. The bow remains essential when a mechanism or boss weak point requires a shot; its letter is not a reason to skip it.
- How to use it
- Keep the bow available for ranged jobs. Try the flute against a group, then decide whether you prefer it to Wind-Whipper.
C tierA later Oni Awakening option
Still Water is a late pickup to try once your regular weapons and survival setup are working.
- Still WaterEmpowers Musashi’s sword and gives an Oni-focused build another attack option.
- Why this tier
- It arrives after the early tools and needs its own skill investment. C means lower priority while building a first-playthrough setup, not low endgame damage.
- How to use it
- Collect it in the Swamp of Arashiyama, try its sword attacks, and only then spend on Golden Wave or duration skills.
Pick for the fight you are losing
| What is going wrong? | Try this | What to do differently |
|---|---|---|
| You run out of health | The Two Celestials | Wait for a safe opening, attack to release Yellow Souls, then absorb them. |
| Groups keep surrounding you | Wind-Whipper | Use the wide attack when enemies bunch up rather than spend it on a lone weak target. |
| A shield or guard stops your attacks | Earth-Shakers | Aim for stamina pressure, then follow an emptied enemy gauge with Break Issen. |
| An archer or mechanism is out of reach | Oni Bow | Aim from a safe position; its ranged utility matters even when it is not your damage choice. |
| You have a clear opening on a tough target | Flashing Void | Use the opening for a committed attack instead of starting it while the enemy is rushing you. |
| You want a late alternative for sword-based Oni combat | Still Water | Try the unupgraded tool first; its late arrival is why it is a lower first-run investment priority. |
Where to get the six Armaments and Oni Bow
The seven-item collection checklist includes the Oni Bow. The combat selection consists of six Oni Armaments powered by the Oni Power gauge; the bow works separately as a ranged tool. This table includes both so you can complete the pickup route without confusing their use.
The effort labels describe the pickup route. “Low” means the story or training leads you to it; “Explore” means you need to check a chest away from the obvious route. They do not rate the difficulty of the whole mission.
| Weapon or tool | Where to look | Pickup effort |
|---|---|---|
| The Two Celestials | Kiyomizu-dera Temple: destroy the second Thread Genma at the second Oni gate, then open the chest released from its threads. | Low · early story route |
| Oni Bow | Oni Refuge: open the chest on the main route. The bow is needed to continue. | Low · required story pickup |
| Wind-Whipper | The Oni’s Apprentice: complete the introduction to the practice grounds and Boss Rematch, then open the reward chest. | Low · training reward |
| Earth-Shakers | Underground Laboratory, Level 4: check the room immediately after the fan puzzle. | Explore · post-puzzle chest |
| Firebird Flute | South of Gojo Street – East: search the area where the rift appears during Shadows Fall. | Explore · Kyoto chest |
| Flashing Void | Mount Oe, Castle Courtyard: slide into the cave and open the chest. | Explore · concealed entrance |
| Still Water | Swamp of Arashiyama: search the northeastern corner for the chest. | Explore · late-area chest |
Make your next upgrade count
For a first purchase, Two Celestials: Combo Strength costs 2 Oni Stones after pickup. After the first Oni Portal, Wind-Whipper: Power/Duration and Earth-Shakers: Charge Level each cost 2 Oni Stones. Choose the one you already use successfully.
For a complete setup, pair the weapon with the right charms and unlocked slots. Healer supports early survival; Fencer’s Strength supports regular sword damage; Awakening and Oni Power belong in the later gauge-focused plan. Their quest rewards and slot upgrades are part of the build.
Equipment enhancements and weapon skills are separate purchases. Cosmetic sword appearances are not additional combat weapons to rank against these Armaments.
More in this section
Go deeper
Best Charms & Armor
Choose a survival, sword or Oni charm setup, see when its quest rewards open, and keep cosmetic outfits separate from combat upgrades.
Read →Your First WeaponsBest Early Weapon
Compare early Armaments, pickup effort and combat roles before spending on upgrades.
Read →Charm Locations & UpgradesCharm Locations & Upgrades
All 15 quest rewards with story unlocks, plus charm capacity costs, enhancement steps and separate purchase/demo bonuses.
Read →Best Upgrades & CostsS-Tier Upgrades
A practical skill order, Armament upgrade routes and the materials each equipment track needs.
Read →Late Bosses & CarnageEndgame Boss Setup
A default Armament, three-charm loadout, unlock costs, a repeatable Oni Awakening loop and safer substitutions.
Read →First-Playthrough Build RouteBuild Guide by Stage
Three practical setups with equipment, Armaments, charm slots, skill costs and an easier way to play each one.
Read →Direct answers
Frequently asked questions
What is the best Oni Armament for a first playthrough?
The Two Celestials is our first pick when staying alive is the problem. Wind-Whipper is a strong choice for groups, while Earth-Shakers is more useful against guards and armored enemies.
Does a lower tier mean I should stop using that weapon?
No. The tiers describe our general priorities for a first playthrough. The Oni Bow is still the correct tool for a ranged mechanism, and a specialized Armament can be your best choice in the fight you are doing.
Are there six or seven Oni Armaments?
There are six gauge-powered combat Armaments: The Two Celestials, Wind-Whipper, Earth-Shakers, Firebird Flute, Flashing Void and Still Water. The seven-item collection checklist also includes the Oni Bow, which works separately as a ranged tool.
Are these katana, armor or character rankings?
The cards compare Oni Armaments and the bow’s utility. Musashi’s regular sword enhancements, clothing, charms and cosmetic appearances have different roles; use the build and charm guides to combine them.