Quick Answer
Fight Shuten Doji at the end of The Demon on the Mount. Keep the Oni Bow ready to interrupt his flame-breath wind-up and the swollen head in phase two. Defend his delayed blade swings, dodge his body attacks, then take short openings before he can recover health. Fire resistance helps against his attacks; fire is not an established elemental weakness you should attack him with.
- Story mission
- The Demon on the Mount
- Stronghold
- Mount Oe
- Fight structure
- Two phases
- Main complication
- Health recovery
- Important tool
- Oni Bow
- Phase two
- Body and flying head
Where you fight Shuten Doji
Shuten Doji is the enormous Genma occupying Mount Oe and claiming the name of a legendary Oni. His story encounter closes The Demon on the Mount. He is a late-game boss, but he is not the final boss: the campaign ultimately ends with Minamoto no Yoshitsune.
The fight tests whether you can keep dealing damage without treating every pause as permission for a full combo. Shuten Doji can recover health, and his unsteady movement delays attacks that look ready to land. Stay within reach of a safe punish, watch the weapon itself, and defend before returning to offense.
Prepare for fire, healing and a second attacker
- Check your sword, gauntlet and clothing enhancements before entering. Improve the equipment you are actually using; changing an outfit appearance will not make you tougher.
- Equip available fire-resistance support if fire damage is ending your attempts. This reduces a threat you receive; it does not mean Shuten Doji is weak to fire.
- Place healing supplies where you can use them without searching through the inventory. Keep enough for a second phase rather than spending everything to force the first health bar down.
- Make sure you can aim the Oni Bow quickly and recognize the inhaling and inflating animations. A timely interrupt can be more useful than another sword hit.
- Use the prompts available on your difficulty while learning. Issen means attacking just before an enemy blow lands; parrying is a timed block. You do not have to gamble on Issen against every swing.
Phase one: wait through the delay, then punish
His swaying stance is the trap. Do not press your defense merely because he has raised the blade; wait for the swing to travel toward Musashi. Take a short punish after a completed attack, then reset before the next wind-up.
| What you see | What to do | When to attack |
|---|---|---|
| A delayed cleaver swing, including a backward stagger followed by a forward cut | Parry or deflect the blade as it reaches you. Avoid an early input during the sway. | After the cut finishes and you have checked for a follow-up. |
| The bottle comes down, or he leaps into a downward weapon strike | Dodge the impact. Use a timed Issen counter only if you already know that attack. | Land a brief punish while he recovers from the impact. |
| A kick or a body-first fall | Use the dodge response. Watch his recovery, because another kick can follow. | After the body sequence finishes, rather than after its first movement. |
| The bottle pulls you toward a white-glowing blade wind-up | Prepare a parry or deflection for the incoming blade. An ordinary dodge is not the answer to that strike. | Resume pressure once the forced close-range exchange is over. |
| He steps back and sends fire across the ground | Move out of the fire lines and time the dodge over the approaching hazard. | Re-enter when the floor gives you a safe route. |
| He draws breath for a large flame attack | Shoot him with the Oni Bow during the inhaling wind-up. | Close in after the interrupt; do not keep aiming while his next attack starts. |
Do not confuse the gourd with a free opening
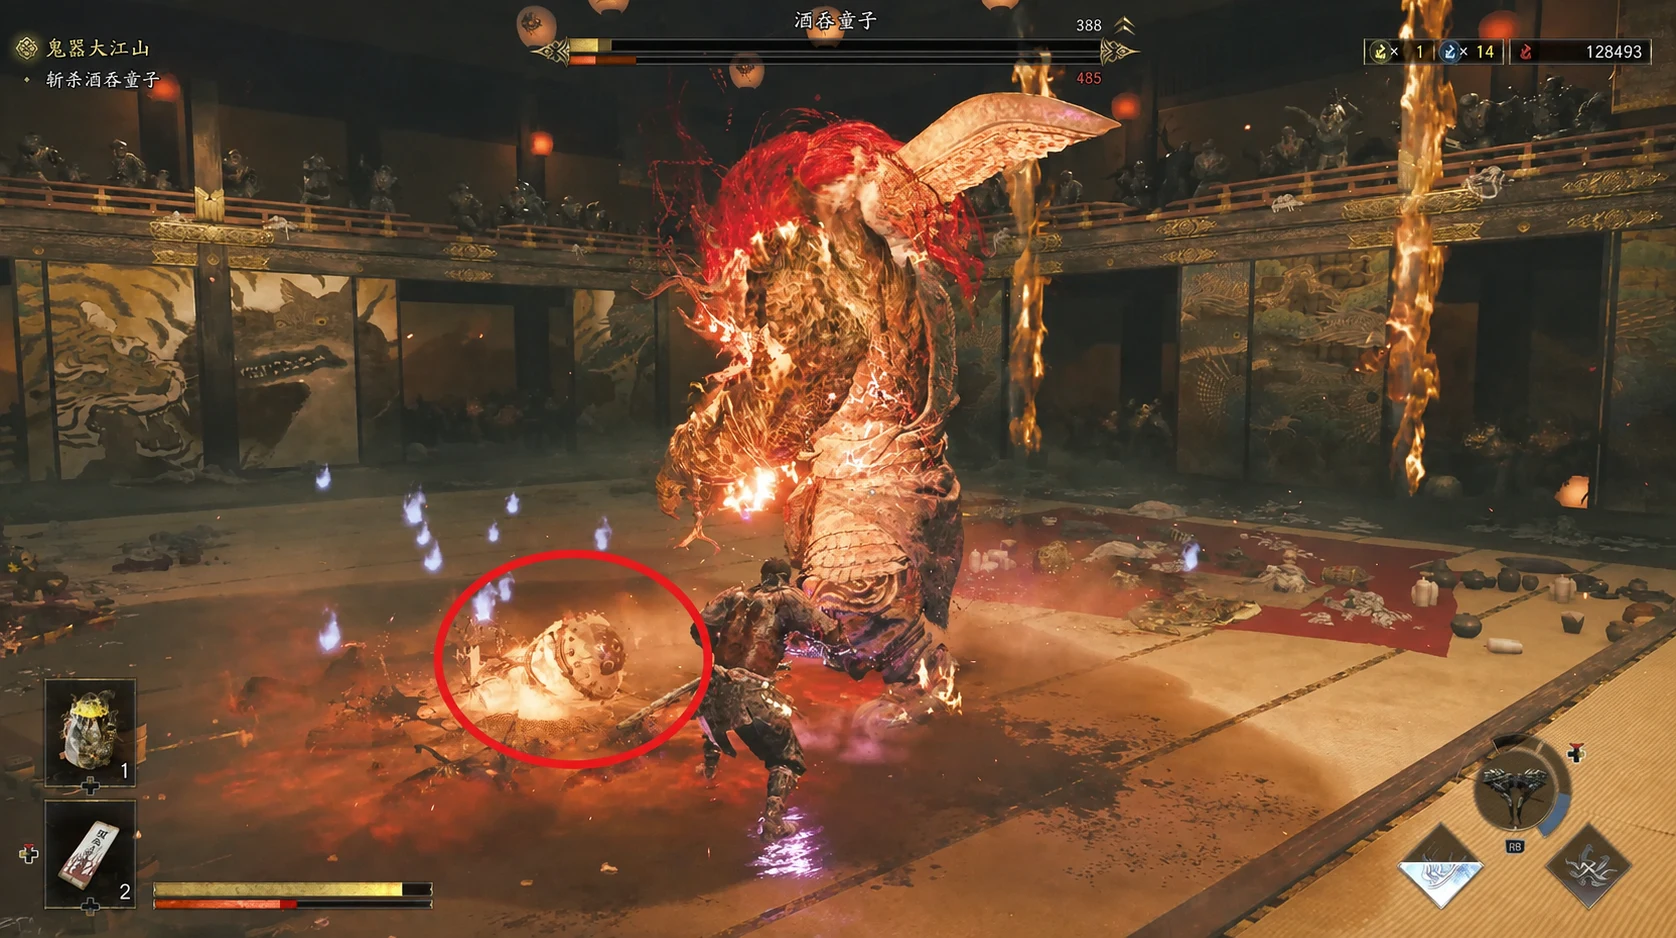
- When he lies down to drink, take a short punish to offset his recovery, then step away before he rises.
- If the gourd drops onto the floor, leave its immediate area. He can strike it with his blade and spread fire.
- When fire breath is already starting and the bow interrupt is too late, use successive dodges to leave the stream.
- Watch a glowing hand followed by a backward step: fireballs can spread in a fan. Find a clear route before returning to melee.
Phase two: keep the head in view
The detached head becomes another attacker while the body keeps much of its earlier moveset. You can keep your lock-on on the body, but adjust the camera so the head does not disappear from view. Treat a body attack and the following head attack as one exchange until both have settled.
Use Oni Awakening when it is available to make progress through this phase. Damage taken during the transformation consumes your remaining opportunity, so continue defending. Use its finishing attack before the gauge expires, after taking advantage of the transformation itself.
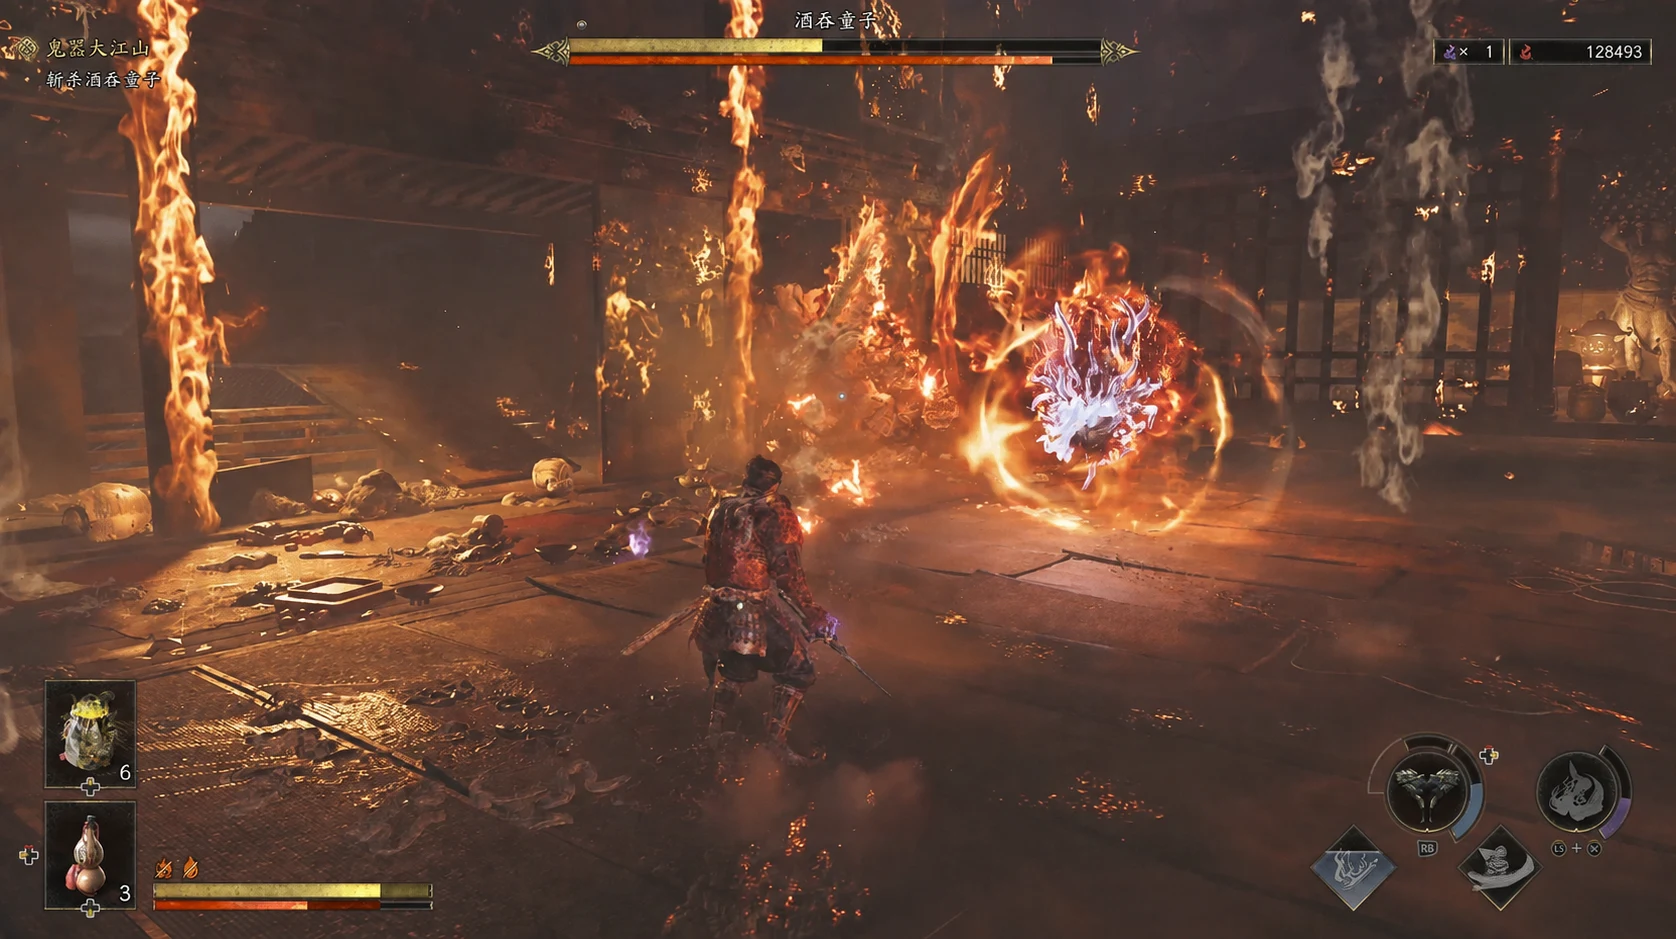
- Reframe the camera as the flying head joins the fight. Keep its approach visible while watching the body’s blade.
- If the head lines up from a distance, prepare to dodge its rushing grab; retreating farther is not protection.
- After defending, check both attackers before healing or countering. A quiet body can still be covered by an active head.
| Cue | Response | Common mistake |
|---|---|---|
| The head spins before rushing toward you | Use the timed dodge or counter indicated for that charge. Keep its approach visible. | Aiming at the body while the head charges from outside the camera. |
| The head swells into a large balloon | Shoot the swollen head with the Oni Bow to interrupt it, then return attention to the body. | Waiting for the fire attack to begin before drawing the bow. |
| Body and head attack one after another | Answer each cue separately: defend the blade and dodge the head or body attack as required. | Starting a punish after the first impact while the other attacker is still moving. |
| The body pauses to recover while the head remains active | Take quick hits only if the head is not already lining up its next move. | Committing to a long combo because the body alone looks idle. |
Recover from a failed attempt
In the story encounter, a retry after the phase transition resumes at phase two with the healing supplies you had left when phase one ended. The checkpoint saves repeating the opening, but it is not a free refill. If repeated retries start with too little healing, an earlier manual save gives you the option to redo the first phase more efficiently.
Heal after a completed attack or a successful bow interrupt, once the other attacker is accounted for. If you are already close to defeat, take a safe recovery opportunity rather than trying to obey a rigid rule about saving every item.
| What went wrong | Adjustment |
|---|---|
| The same delayed swing catches an early parry | Watch when the blade moves, not when he first raises it. Practice that exchange with short punishes. |
| His health keeps recovering while yours runs out | Reduce idle time between safe openings. Do not replace defense with uninterrupted attacking. |
| Phase two starts with too little healing | Check what the checkpoint retained; if necessary, reload your separate earlier save and preserve more supplies. |
| The flying head keeps interrupting bow aim | Reframe the camera, identify the head cue first, and draw only for a clear interrupt. |
| You reach the end but lose your transformation early | Continue defending in Oni Awakening and avoid spending the finisher immediately on entering the form. |
Return through Boss Rematch
After unlocking the Practice Ground during The Oni’s Apprentice, use the hall bell, speak to Takamura inside and select Boss Rematch. Choose Shuten Doji when his encounter is available in the list, then select an unlocked difficulty. This is the useful route for practicing him without replaying his story mission.
For missing entries, difficulty completion and trophy progress, use the Boss Rematch checklist in the directory. Story checkpoint behavior is not a promise about how the separate rematch mode restarts.
Choose your next fight
Direct answers
Frequently asked questions
Where is Shuten Doji?
His story fight is at the end of The Demon on the Mount, at the Mount Oe stronghold. He is not the final boss.
Is Shuten Doji weak to fire?
Do not build around an assumed fire weakness. Fire is one of his main threats, so fire resistance can help you survive. His useful openings come from attack recovery and Oni Bow interrupts.
How do I stop his flame breath?
Draw the Oni Bow when he inhales and shoot during the wind-up. In phase two, also shoot the head when it swells into a balloon.
Should I keep attacking while he regenerates?
Use safe openings promptly, but stop for attacks you need to defend. Trading hits and then spending time healing can lose more progress than a short, deliberate defensive exchange.
Why do I restart phase two with so little healing?
The story checkpoint keeps the healing left at the phase-one transition. It does not refill supplies; an earlier manual save lets you retry the opening if you need to carry more healing forward.
Can I fight Shuten Doji again?
Yes. Use Boss Rematch in the Practice Ground and select Shuten Doji once that entry and your chosen difficulty are available.