
Quick Answer
Keep Daidara’s feet and weapon visible. Dodge body attacks, follow his full weapon sequence, and collect loose souls during a safe opening. Choose the response you can time, then punish the recovery instead of the wind-up.
- First encounter
- Oni Refuge
- After the opening Ganryu duel
- Main threat
- Charge + heavy swings
- Special mechanic
- Soul consumption
- Practice option
- Expanded demo
- Daidara was added in the demo update
Where you meet Daidara
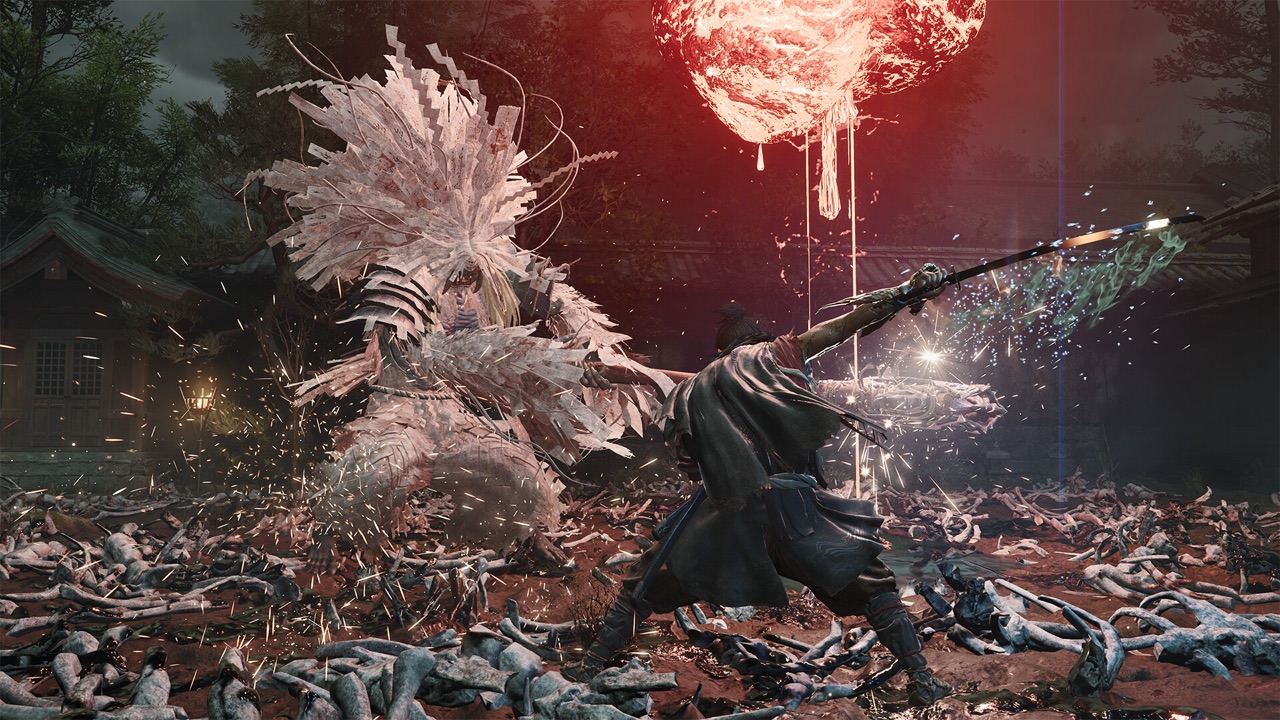
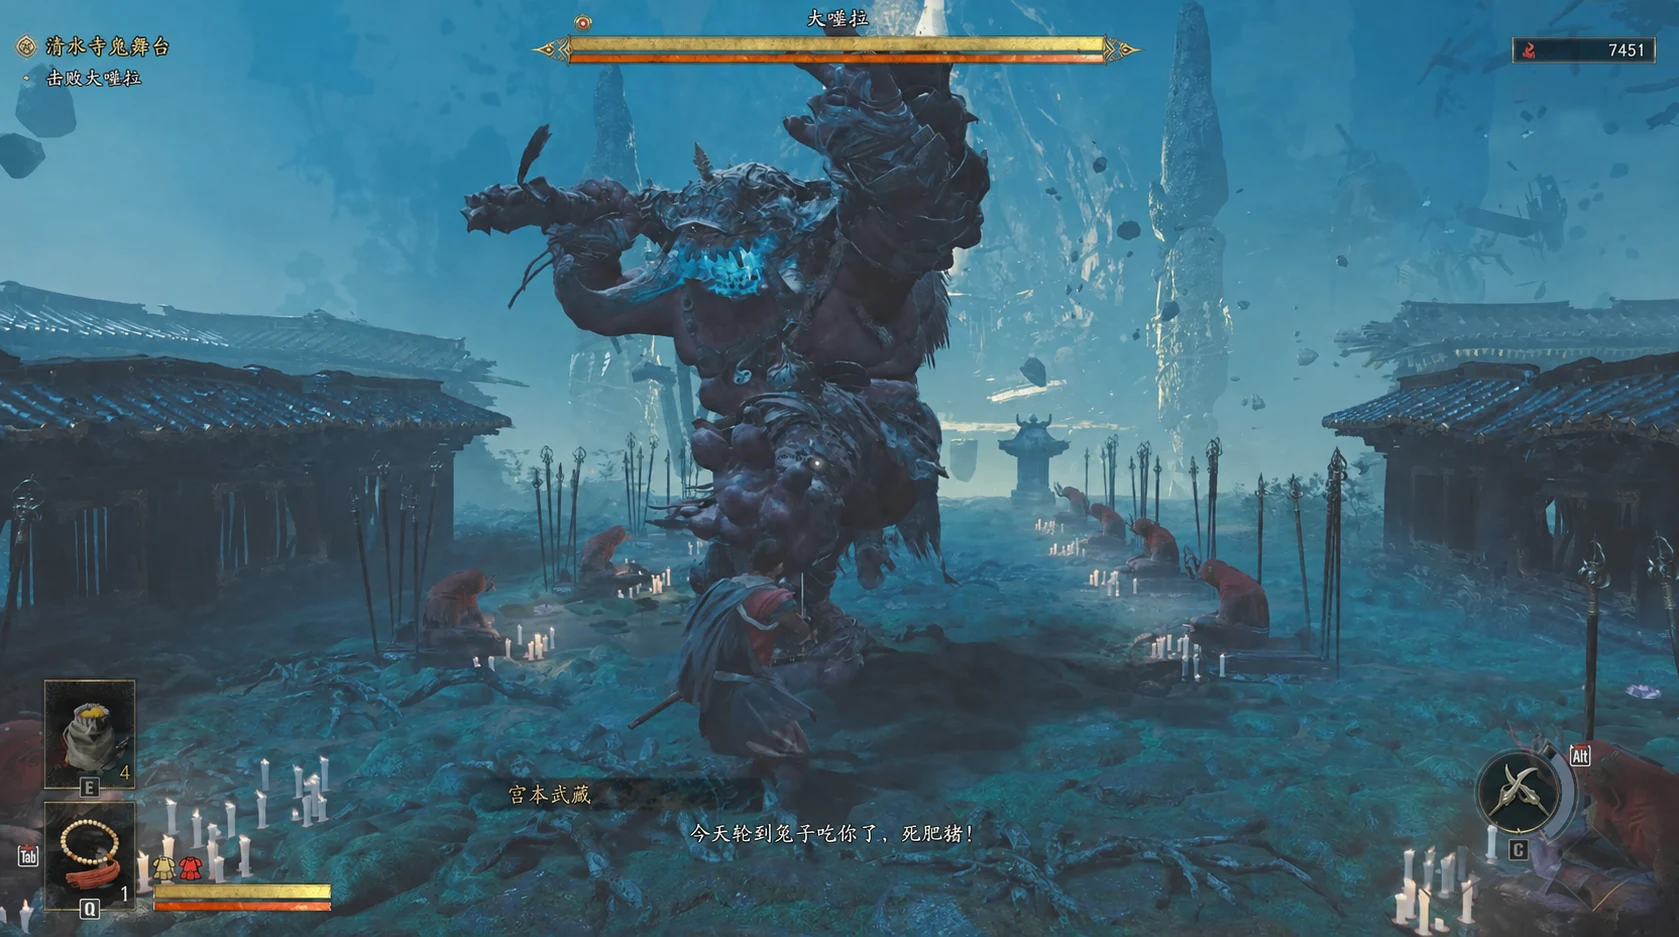
Daidara appears in the Oni Refuge during the early story, after Musashi’s duel with Sasaki Ganryu. He is the large, hungry Genma encountered as the adventure moves beyond Kiyomizu-dera. The expanded demo also includes this fight, making it a useful place to practise the basics.
A fight plan you can repeat
- Start far enough away to see his feet and weapon. A clear view matters more than landing the first hit.
- Use the charge as your main learning opportunity. Wait for him to come to you, dodge late, and attack only after you have cleared his path.
- Keep the counterattack short until you know the next move. If he is already turning back toward you, finish the exchange and prepare to defend.
- Use a safe opening to absorb souls or heal instead of attacking when resources are low. Ending every opening with damage is not always the best trade.
- After a mistake, regain space before trying to recover. Rushing straight back in can turn one hit into a second hit and more lost souls.
Read the attack before choosing the response
| What you see | What to do | What to avoid |
|---|---|---|
| Foot-stomping at a distance, then a charge | Prepare a late Reflex Dodge and counter after he passes. | Spending the dodge during the wind-up. |
| Weapon drawn back for a swinging sequence | Follow each swing; parry or deflect an attack you recognise. | Treating the first swing as the end of the sequence. |
| Souls loose in the arena | Absorb them during a safe gap. | Staring at the drops while the boss is attacking. |
| A Break Issen target choice | Choose the soul target when resources are the problem; damage when you can safely finish. | Selecting automatically without looking at your gauges. |
| One foot rises for a kick | Prepare a dodge; attempt Issen only once you know when the kick releases. | Confusing the raised foot with a sword opening. |
| A dance, then his head lowers for a charge | With a clear escape route, deflect near a wall to create a collision opening. | Standing against a wall without room to escape if the timing fails. |
| A raised hand pauses near head height | Prepare to dodge the incoming grab. | Trying to block the grab or attacking during the pause. |
Make room in the temple stage
The later part of the encounter moves into a tighter temple space. Furniture and pillars can interrupt your view and make a retreat awkward. Let his charges clear obstructions where possible, then fight in the space that opens up.
Choose a retreat line before you attack. If there is a shelf or pillar behind Musashi, move first rather than discovering it during a dodge. Keep Daidara in view so you can recognise whether he is approaching with his body or his weapon.
Early on, a weapon swing that catches one of the seated bodies can leave Daidara occupied discarding it. Reposition beside the props, let the swing pass, and attack during that recovery.
Why the soul choice matters here
Daidara’s appetite is part of the fight. Souls left available to him can become his advantage, so resource recovery belongs inside your combat rhythm. You do not need to stop after every hit; look for a gap where you can collect without eating another attack.
Treat Break Issen as a decision point. When a soul target is offered and you are struggling to sustain your abilities, recovery may help more than another burst of damage. When you have what you need and his health is low, the damage target is the more direct route to a clear.
Prepare for the fight you are losing
- Use the katana skills and defensive inputs you already understand. A new move is useful only if you know when its recovery ends.
- Check your current health, healing supply, and available abilities before re-entering. Choose a familiar short punish over an unfamiliar long combo.
- Practise Issen separately from Reflex Dodge. Issen is a timed attack; dodging is a defensive action. Pressing one does not trigger the other.
Choose your next fight
Direct answers
Frequently asked questions
Can I fight Daidara in the demo?
Yes. The expanded demo adds Daidara after the content leading beyond the Ganryu duel.
What is the best way to avoid Daidara’s charge?
Keep enough distance to recognise the start-up, then use a late Reflex Dodge as the charge reaches you. Dodging during the initial foot-stomping gives him time to reach your new position.
Should I parry everything Daidara does?
No. Read each move and use the corresponding response in the attack-cue table. Reflex Dodge is a useful way to learn body attacks; weapon combinations require you to stay ready for the next swing.
Should I choose souls or damage for Break Issen?
Choose based on the current fight: recover souls when your resources are the limiting factor, or select damage when you have enough resources and want to close out the attempt.